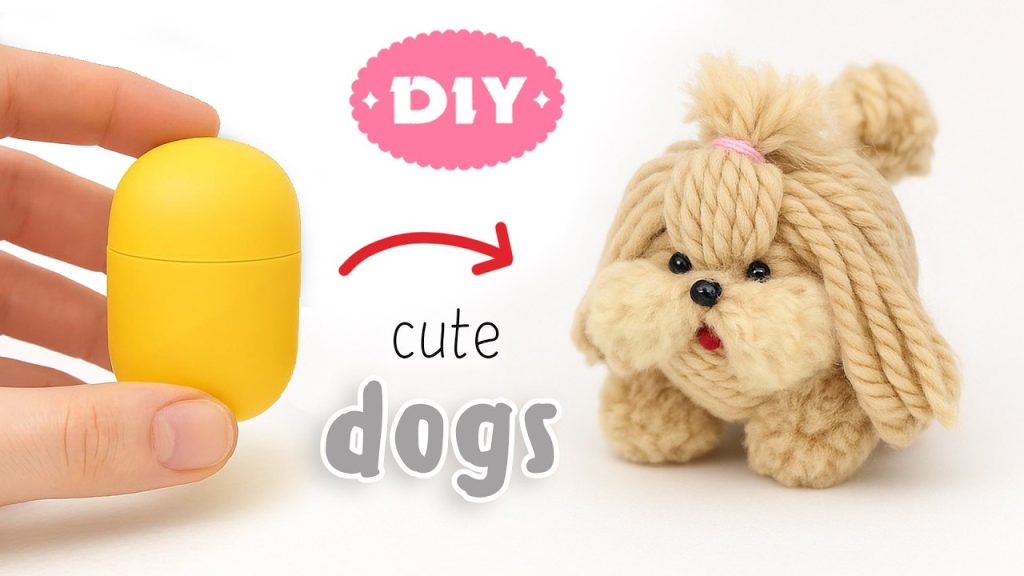
Have you ever wanted to create a toy dog that feels special and unique? Making your own toy dog is easier than you think, and it lets you add your own personal touch.
Whether you want a cute gift, a fun project, or a new decoration, this guide will show you simple steps to bring your toy dog to life. Keep reading, and you’ll discover how satisfying it is to craft something with your own hands—something that can bring joy to you or someone you care about.
Ready to start? Let’s dive in!

Credit: www.youtube.com
Materials Needed
Making a toy dog requires some basic materials. Choosing the right supplies helps you create a soft and cute toy.
Below are the main items you need to gather before starting your project.
Choosing The Right Fabric
Pick fabric that is soft and easy to sew. Cotton, fleece, and felt are good choices. Avoid stiff or rough materials.
- Cotton fabric for softness and breathability
- Fleece for a fluffy feel
- Felt for easy cutting and shaping
- Scraps of fabric for small details
Essential Tools
| Tool | Purpose |
|---|---|
| Needle and Thread | For sewing fabric pieces together |
| Scissors | To cut fabric and threads |
| Stuffing Material | To fill the toy and make it soft |
| Pins | Hold fabric in place while sewing |
| Fabric Marker | Mark cutting lines on fabric |
Optional Decorative Items
You can add decorations to make your toy dog unique. Buttons, ribbons, and fabric paint work well.
- Small buttons for eyes and nose
- Ribbons for collars or bows
- Fabric paint to add spots or patterns
- Embroidery floss for detailed stitching
Credit: www.youtube.com
Basic Design Ideas
Making a toy dog starts with simple design ideas. You need clear shapes and fun features.
These ideas help you create a cute and easy toy dog. Focus on basic shapes and small details.
Simple Shapes For Beginners
Start with basic shapes like circles, squares, and triangles. These shapes form the dog’s body parts.
Use circles for the head and body, and triangles for ears. This makes the dog easy to build.
- Circle: head and body
- Triangle: ears and tail
- Oval: legs and paws
- Rectangle: neck or collar
Adding Personality With Features
Add eyes, nose, and mouth to give the toy dog character. These features make it look alive.
Small details like spots or a collar add charm. Choose simple shapes for these features too.
- Two small circles for eyes
- Triangle or oval for nose
- Curved line for a smiling mouth
- Dots or patches for spots
- Thin rectangle for collar
Step-by-step Construction
Making a toy dog is a fun and creative project. You can follow simple steps to build it from fabric. This guide shows how to create your own soft toy dog.
We will cover cutting fabric, sewing pieces, and stuffing the toy. Each step is easy and clear for beginners.
Cutting The Fabric
Start by choosing soft fabric like cotton or fleece. Use a simple toy dog pattern to trace shapes on the fabric. You will need pieces for the body, ears, legs, and tail.
- Fold the fabric in half to cut two matching pieces.
- Pin the pattern on the fabric to avoid shifting.
- Use sharp scissors to cut carefully along the lines.
- Cut small notches for easier sewing later.
Sewing The Pieces Together
Place two fabric pieces right sides together. Sew along the edges using a straight stitch. Leave a small opening for stuffing. Attach the ears, legs, and tail by sewing them securely to the body.
- Pin the fabric pieces together to hold them in place.
- Sew around the edges with a ¼ inch seam allowance.
- Reinforce corners by backstitching for strength.
- Turn the sewn pieces right side out through the opening.
Stuffing The Toy
Use polyester fiberfill or cotton to stuff your toy dog. Fill the body evenly and gently to keep the shape soft and cuddly. Sew the opening closed with small stitches after stuffing.
| Stuffing Tips |
| Use small amounts of stuffing at a time |
| Avoid overfilling to keep softness |
| Push stuffing into corners carefully |
| Close the opening with a hidden stitch |
Finishing Touches
Finishing touches bring your toy dog to life. These details make it look friendly and unique.
Focus on eyes, nose, fur, and accessories to complete your creation.
Adding Eyes And Nose
Attach small buttons or beads for eyes and nose. Choose colors that fit your dog’s look.
- Sew the eyes securely to avoid losing them
- Use black or brown beads for a natural look
- Glue the nose if sewing is difficult
- Place eyes evenly to keep the face balanced
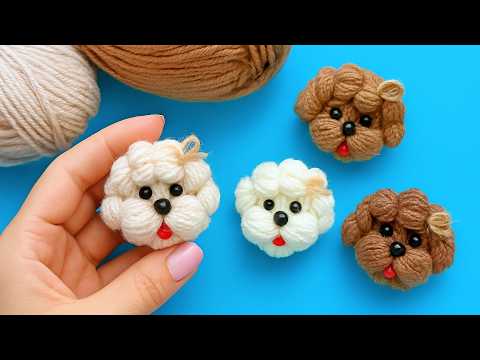
Creating Fur Texture
Use yarn or felt to add fur texture. Mix colors for a soft, fluffy effect.
| Material | Effect |
| Short yarn strands | Soft and fuzzy fur |
| Felt pieces | Smooth and flat texture |
| Long yarn loops | Curly or shaggy fur |
Personalizing With Accessories
Add collars, bows, or tiny clothes to make your toy dog special. Use small buttons or fabric scraps.
Try these accessory ideas:
- Ribbon collar with a small bell
- Mini bow tie made from fabric
- Tiny felt hat glued on top
- Embroidered name tag on the collar
Care And Maintenance
Caring for your toy dog keeps it looking new and safe for play. Regular maintenance helps extend its lifespan.
Learning how to clean and repair small damages will ensure your toy dog remains a beloved companion for years.
Cleaning Tips
Keeping your toy dog clean is important. It prevents dirt build-up and keeps it looking fresh.
- Use mild soap and water for washable materials
- Spot clean with a damp cloth for delicate fabrics
- Avoid using harsh chemicals or bleach
Repairing Small Damages
Minor damages like tears or loose parts can be fixed at home. This keeps your toy dog in good condition.
For tears in fabric, use a simple stitch to close the gap. A needle and thread work well for minor sewing tasks.
Loose eyes or noses can be reattached with non-toxic glue. Ensure the glue is safe for children.
| Damage Type | Repair Method |
| Fabric Tear | Sew with needle and thread |
| Loose Eye | Reattach with non-toxic glue |
| Missing Button | Sew on a new button |
Creative Variations
Making a toy dog can be fun and creative. You can try different styles and ideas to make your toy unique.
Using various dog breeds and materials will help you create many different toy dogs. This guide shows some creative options.
Different Dog Breeds
Choose a dog breed to give your toy a special look. Each breed has unique shapes and features.
For example, a toy poodle has curly fur, while a dachshund has a long body. Pick the breed that you like most.
- Labrador: big and friendly, easy to make with soft fur
- Bulldog: strong face and short legs, great for chunky toys
- Beagle: floppy ears and a small size, good for cute toys
- German Shepherd: sharp features and tall body, perfect for detailed toys
- Chihuahua: tiny and lively, fun to make small toys
Using Alternative Materials
You do not need only cloth or yarn to make toy dogs. Try different materials to add texture and style.
Some materials can make your toy more durable or soft. Mix and match materials for the best effect.
- Felt: easy to cut and sew, good for small details
- Faux fur: soft and fluffy, perfect for realistic fur look
- Knitted yarn: creates a cozy and warm toy
- Fabric scraps: eco-friendly and colorful, use old cloth pieces
- Leather or faux leather: makes a sturdy and smooth toy

Credit: www.youtube.com
Frequently Asked Questions
What Materials Do I Need To Make A Toy Dog?
You need fabric, stuffing, thread, needles, scissors, and markers. Optional items include buttons or felt for eyes and nose. Choose soft, durable materials for safety and comfort. These basics ensure your toy dog is safe, cute, and long-lasting.
How Long Does It Take To Make A Toy Dog?
Making a toy dog usually takes 2 to 4 hours. Time varies based on skill level and design complexity. Beginners might take longer, while experienced crafters finish faster. Planning and preparation can reduce overall crafting time.
Can Children Safely Make A Toy Dog?
Yes, children can make a toy dog with adult supervision. Use child-friendly materials and tools to ensure safety. Simple designs and guided steps make the process fun and educational. It promotes creativity and fine motor skills.
How Do I Add Details To My Toy Dog?
Use embroidery, fabric paint, or felt cutouts for details. Stitch eyes, nose, and mouth carefully to create expression. Adding accessories like collars or bows enhances appearance. These small touches make your toy dog unique and appealing.
Conclusion
Making a toy dog can be fun and simple. You only need a few materials and some patience. Follow the steps carefully and enjoy creating your own toy. This project helps improve your skills and creativity. Plus, you get a cute toy to keep or gift.
Try different colors and shapes to make it unique. Keep practicing to get better each time. Crafting toys brings joy and a sense of pride. Start today and see how much fun it can be!

Emily Barker is the founder of ChillDogLife.com, a space dedicated to helping pup parents discover the best dog products, lifestyle tips, and cozy ideas for happier homes.
A lifelong dog lover, Emily combines her passion for pets with a knack for research to share trusted recommendations on everything from toys and furniture to health and everyday care.
Her goal is simple: to make life easier, stylish, and more joyful for dogs and the people who love them.