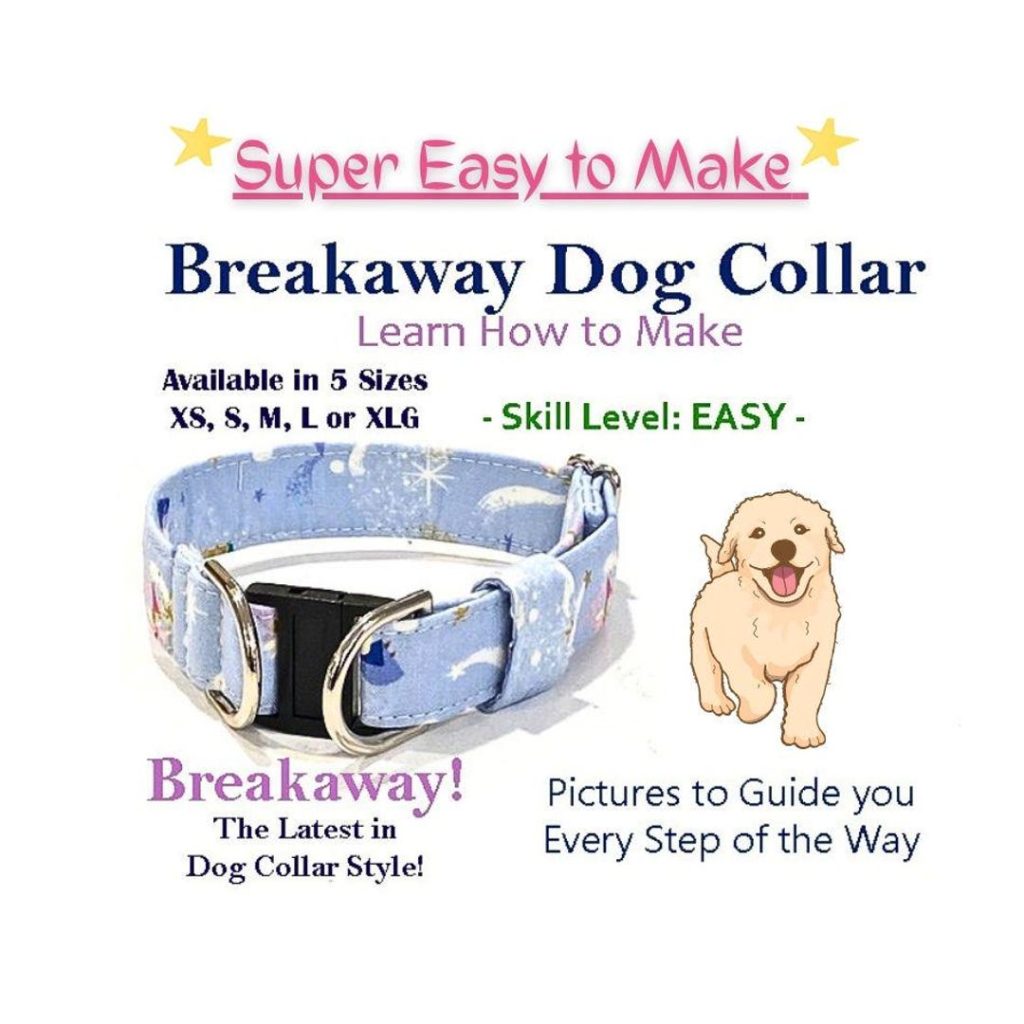
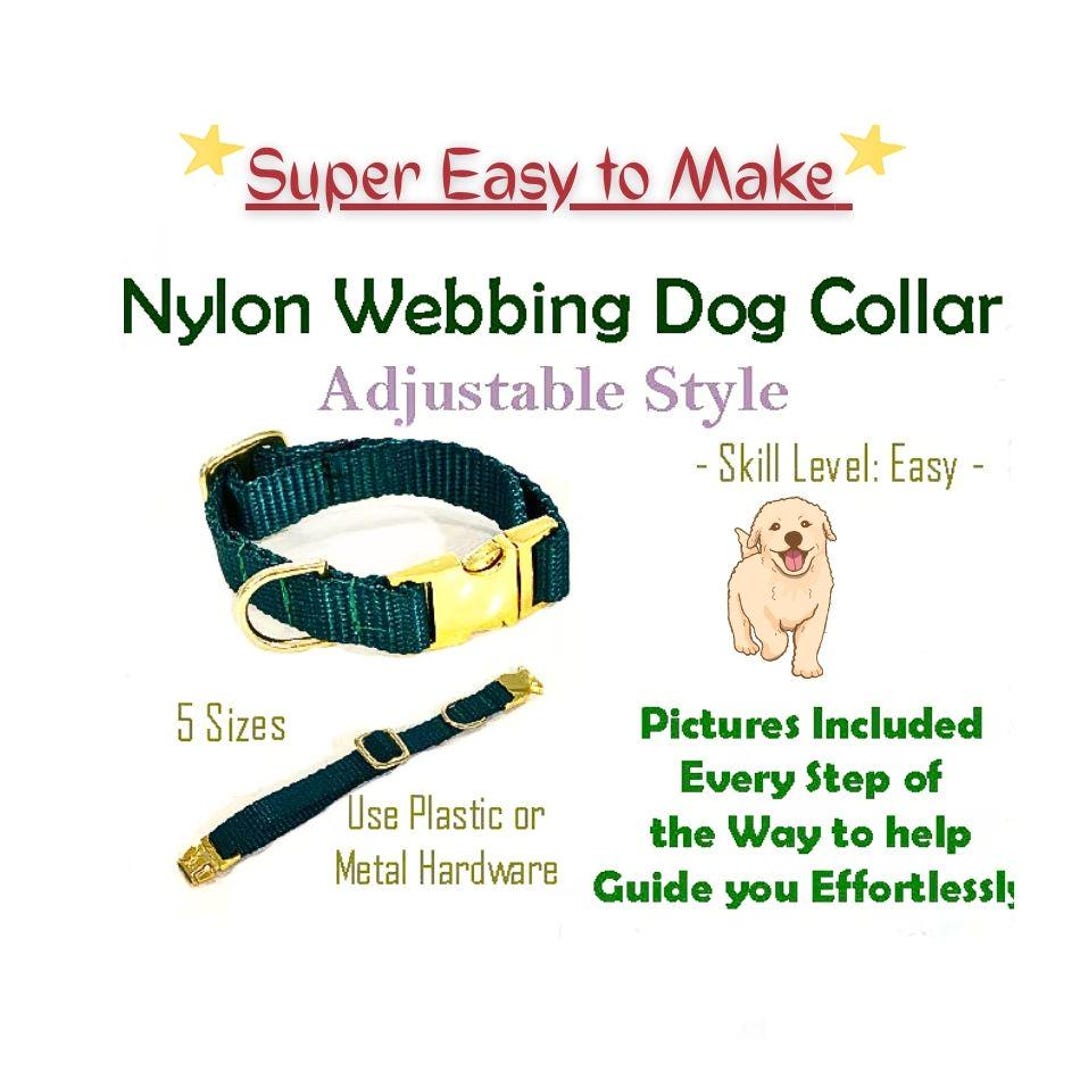
Looking to create a unique dog collar that perfectly fits your furry friend? Making your own dog collar is easier than you think, and it gives you full control over style, comfort, and safety.
Imagine having a collar that stands out during walks and feels just right on your dog’s neck. In this guide, you’ll discover simple steps to craft a durable, stylish collar using materials you can find easily. Keep reading, and by the end, you’ll have the skills to make a collar that both you and your dog will love.

Credit: www.amazon.com
Choosing Materials
Choosing the right materials is key to making a durable and comfortable dog collar. The materials affect the collar’s strength, look, and feel. Think about your dog’s size, activity level, and skin sensitivity. Good materials keep the collar safe and long-lasting.
Types Of Fabric And Leather
Fabrics like nylon and polyester are strong and easy to clean. They come in many colors and patterns. Soft fabric feels gentle on your dog’s neck. Leather is classic and very durable. It looks nice and gets better with time. Choose smooth leather to avoid irritation.
Selecting Buckles And Rings
Buckles and rings need to be sturdy and rust-proof. Metal buckles give secure fastening. Plastic buckles are light and quick to use. D-rings hold ID tags and leashes firmly. Pick materials that match your collar’s strength and style.
Tools Needed
- Scissors for cutting fabric or leather
- Measuring tape to get exact size
- Needle and strong thread for sewing
- Rivets or snaps for extra strength
- Awl to make holes in leather
Having the right tools makes the work easier and neat. Prepare all materials and tools before starting your project.
Credit: www.etsy.com
Measuring Your Dog
Measure your dog’s neck with a soft tape measure for the best fit. Allow extra space for comfort before cutting the collar material. Accurate measuring helps create a collar that is safe and snug.
Measuring your dog for a collar is a crucial step to ensure their comfort and safety. A collar that fits perfectly not only looks great but also prevents any discomfort or injury. Before you start crafting the perfect collar, knowing the right measurements is essential. Let’s dive into how you can accurately measure your furry friend.Finding The Neck Size
To find the right neck size, use a flexible measuring tape. Gently wrap it around the base of your dog’s neck where the collar will sit. Make sure the tape is not too tight; it should be snug but allow room for comfort. If you don’t have a measuring tape, a piece of string can work in a pinch. Just mark the length and measure it against a ruler.Allowing For Comfort
You might wonder how snug is too snug. The general rule of thumb is to allow room for two fingers to slide comfortably between the collar and your dog’s neck. This ensures the collar is not too tight, preventing choking or discomfort. However, it shouldn’t be too loose either, as this could lead to the collar slipping off. Finding the balance is key, so take your time to get it just right.Recording Measurements
Once you have the perfect measurement, jot it down. Consider keeping a dedicated notebook for your dog’s measurements as they might change over time. Having these details handy helps when you’re ready to create or purchase a new collar. Plus, it’s a great reference for other items like harnesses or coats. What other items would you measure for your dog’s comfort and style?Cutting The Collar
Cutting the collar is a key step in making a dog collar. It shapes the material and sets the size. Careful cutting helps ensure a neat and comfortable collar for your dog.
Marking The Material
Start by measuring your dog’s neck. Add extra length for fastening and adjustment. Use a ruler and a fabric pen to mark the material clearly. Mark straight lines to guide your cut. Double-check the marks before cutting to avoid mistakes.
Cutting Techniques
Choose sharp scissors or a rotary cutter for a clean cut. Cut slowly along the marked lines. Keep the material flat to prevent uneven edges. Use a cutting mat under the material to protect your work surface. Avoid jagged cuts by steadying your hand.
Preparing Edges
After cutting, smooth the edges to prevent fraying. Use fine sandpaper or a nail file for fabric or leather. For synthetic materials, gently heat the edges to seal them. Clean, smooth edges make the collar look professional. They also keep the collar durable and safe for your dog.
Assembling The Collar
Assembling the collar is where your project starts to take shape. This stage brings together all the materials and prepares them for your dog’s comfort and safety. Careful assembly ensures the collar is durable and looks great, making your effort truly worthwhile.
Attaching Buckles And Rings
Begin by positioning the buckle and rings at the ends of the collar strap. Use a sturdy buckle that fits your dog’s size to avoid any slipping or discomfort. Slide the strap through the buckle and adjust it to the right length before moving on.
Attach the D-ring or O-ring near the buckle to hold the leash or ID tags. Make sure it’s securely placed to handle pulling and tugging. Have you noticed how a loose ring can ruin an otherwise perfect collar? Keep it tight and firm.
Securing With Stitching Or Rivets
Choose between stitching and rivets to fasten the buckle and rings. Stitching offers flexibility and a clean look, while rivets provide quick and strong fixes. If you stitch, use thick thread and double back for extra strength.
Rivets require special tools but save time and add durability. Press firmly to avoid any sharp edges that might irritate your dog’s neck. Do you prefer the traditional touch of hand stitching or the industrial strength of rivets? Both work well if done carefully.
Adding Decorative Elements
Decorate your collar with beads, embroidery, or fabric paint to add personality. Keep decorations flat and smooth to prevent irritation. You might want to add your dog’s name or a fun pattern to make the collar unique.
Think about how your dog’s activity level affects decoration choices. Would shiny charms be practical for a lively pup? Choose decorations that last and won’t fall off during playtime.
Adjusting And Testing Fit
Adjusting and testing the fit of your handmade dog collar is a crucial step to ensure your furry friend stays comfortable and safe. A collar that’s too tight can cause discomfort or injury, while one that’s too loose might slip off. Let’s focus on how to get the perfect fit for your dog collar.
Ensuring Comfort And Safety
Start by placing the collar around your dog’s neck and observe how it sits. You should be able to fit two fingers comfortably between the collar and the neck. This gap prevents choking while keeping the collar secure during walks.
Watch your dog’s reaction closely. If they scratch or seem uneasy, it might be a sign the collar is irritating their skin or too tight. Remember, comfort is just as important as security.
Making Size Adjustments
If the collar feels too loose or tight, adjust the length before finalizing. Most DIY collars use buckles or sliders that allow easy resizing. Slide the adjustment mechanism until the collar fits snugly but not tightly.
Try different positions on your dog’s neck to check for consistent fit. Keep in mind, dogs’ neck size can fluctuate slightly with weight changes, so allow some room for growth or weight gain.
Final Inspection
Once adjusted, give the collar a gentle tug to test its strength and fit. It should stay secure without causing discomfort. Double-check all stitching, buckles, and clips for durability.
Ask yourself: Would this collar hold up during a sudden pull? Ensuring every component is reliable protects your dog from accidental escapes. Taking these extra minutes can save you from bigger problems later.
Caring For Your Collar
Caring for your dog collar keeps it safe and comfortable for your pet. Regular care helps the collar last longer. It also keeps the material looking fresh and clean. Proper care prevents bad smells and damage. Your dog will enjoy wearing a collar that fits well and feels good.
Cleaning Tips
Clean the collar often to remove dirt and oils. Use mild soap and warm water. Gently scrub with a soft brush or cloth. Rinse well to remove all soap. Let the collar air dry completely before use. Avoid harsh chemicals that can harm the collar material or irritate your dog’s skin.
Maintenance For Longevity
Check the collar regularly for signs of wear. Keep buckles and clips working smoothly. Store the collar in a dry place when not in use. Avoid leaving it in direct sunlight for long periods. Leather collars benefit from occasional conditioning with pet-safe products. Nylon collars should be inspected for fraying or loose threads.
Repairing Wear And Tear
Fix small tears or loose stitching quickly. Use strong thread to sew loose parts. Replace worn-out buckles or rings to keep the collar safe. For leather collars, use leather glue or patches for minor damage. If the collar is heavily damaged, consider making a new one to ensure your dog’s safety.

Credit: www.amazon.com
Frequently Asked Questions
What Materials Do I Need To Make A Dog Collar?
You need nylon or leather straps, a buckle, D-ring, scissors, and a sewing kit. These materials ensure durability and comfort for your dog.
How Do I Measure My Dog For A Collar?
Measure your dog’s neck with a flexible tape. Leave two fingers space for comfort. Accurate measurement ensures a proper fit.
Can I Make A Personalized Dog Collar At Home?
Yes, you can add names or charms to customize collars. Personalization adds style and makes your dog’s collar unique.
How Long Does It Take To Make A Dog Collar?
It typically takes 30 to 60 minutes depending on design complexity. Beginners might need more time to complete the project.
Conclusion
Making a dog collar at home is simple and fun. You choose the colors and materials you like. It saves money and fits your dog's size perfectly. Plus, you can add a personal touch. Just follow the steps carefully and take your time.
Soon, your dog will wear a collar made with love. Try it today and enjoy the process!

Emily Barker is the founder of ChillDogLife.com, a space dedicated to helping pup parents discover the best dog products, lifestyle tips, and cozy ideas for happier homes.
A lifelong dog lover, Emily combines her passion for pets with a knack for research to share trusted recommendations on everything from toys and furniture to health and everyday care.
Her goal is simple: to make life easier, stylish, and more joyful for dogs and the people who love them.