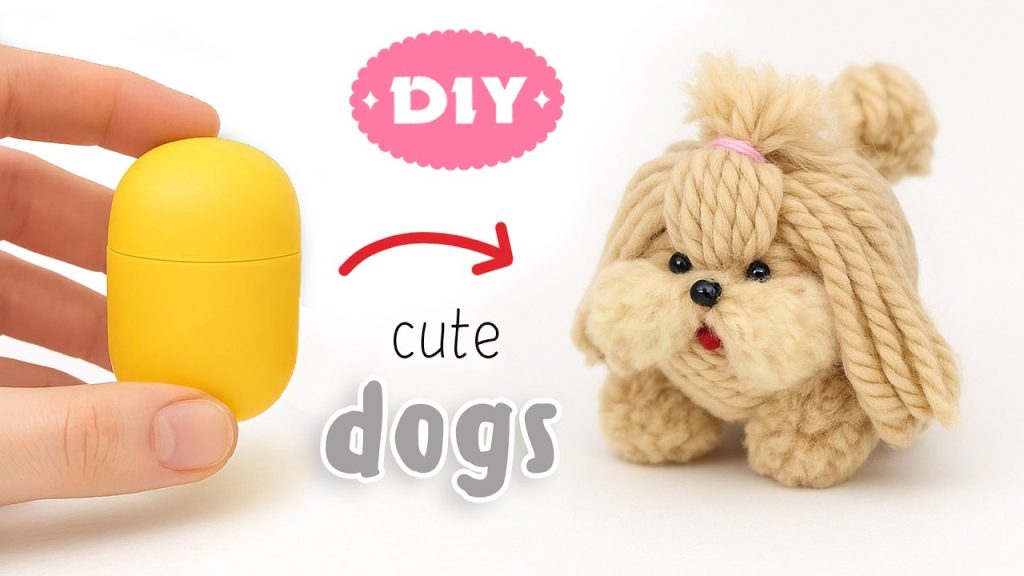
Have you ever wished you could create a cute toy dog all by yourself? Making your own toy dog is easier than you might think, and it’s a fun way to bring a special, handmade companion to life.
Whether you want a gift for someone you love or a unique decoration for your home, this guide will walk you through every simple step. By the end, you’ll have a charming toy dog that’s truly yours. Ready to get started?
Let’s dive in!
Materials Needed
Gathering the right materials is key to making a toy dog that looks great and lasts long. The choices you make here affect not only the toy’s appearance but also its feel and safety. Let’s look at the essentials you’ll need to get started.
Fabric Choices
Choosing the right fabric sets the tone for your toy dog. Soft fabrics like fleece or felt are easy to sew and perfect for a cuddly feel. If you want something more durable, consider cotton or denim, which hold up well to playtime.
Think about the texture you want your toy to have—do you prefer something smooth or fuzzy? Some makers use faux fur to give a realistic touch, but it can be tricky to sew. What kind of fabric would you enjoy working with the most?
Tools And Accessories
Having the right tools makes the process smoother and more enjoyable. Basic tools include sharp scissors, sewing needles, and pins to hold pieces together while you work. A sewing machine speeds things up but hand sewing works fine for small projects.
Don’t forget accessories like buttons or embroidery thread for eyes and noses. Safety eyes are a great choice for kids’ toys since they stay securely attached. Do you have your favorite tools ready, or will you try something new this time?
Stuffing Options
Stuffing brings your toy dog to life by adding shape and softness. Polyester fiberfill is a popular choice because it’s lightweight, washable, and easy to find. You can also try natural stuffing like wool or cotton for a more eco-friendly option.
Some crafters use scrap fabric or old t-shirts as stuffing to reduce waste. How firm or fluffy do you want your toy dog to feel? Experimenting with different stuffing types can make a big difference in the final product.
Choosing A Design
Choosing the right design for your toy dog sets the foundation for a fun and rewarding crafting experience. The design you select will affect the complexity, materials, and overall look of your finished toy. Think about who the toy is for and what style will bring the most joy or fit best in their space.
Simple Patterns
Starting with simple patterns helps you build confidence and develop basic skills. These patterns usually involve fewer pieces and straightforward sewing or gluing steps. A basic shape like a rounded body with floppy ears can be charming without overwhelming you.
Simple designs also allow you to focus on mastering techniques such as stitching or stuffing. If this is your first toy dog, pick a pattern with clear instructions and minimal detail. You might surprise yourself by how adorable a simple design can be.
Customizing Your Toy Dog
Once you’re comfortable, customizing your toy dog lets you add personality and uniqueness. Think about small touches like different fabrics, buttons for eyes, or embroidery for a nose. These details make your toy stand out and reflect your style or the recipient’s preferences.
Ask yourself what features make a dog special to you. Maybe it’s a curly tail or a favorite color. Adding these personal elements turns a generic toy into something meaningful and memorable.
Cutting Fabric
Cutting fabric is a crucial part of making your toy dog. It shapes the foundation of your project and ensures all parts fit perfectly together. Taking your time and focusing on accuracy here will save you a lot of trouble later.
Transferring Patterns
Start by placing your pattern pieces on the fabric. Pin them securely so they don’t shift while you work. Tracing the outlines with a fabric marker or tailor’s chalk helps you see exactly where to cut.
Remember to mark important details like notches or sewing lines. These small marks guide you during assembly and keep everything aligned. Have you noticed how precise pattern transfer makes sewing smoother?
Precision Tips
- Use sharp fabric scissors:Dull blades cause jagged edges and uneven cuts.
- Cut on a flat surface:Avoid cutting on your lap or uneven areas to keep fabric steady.
- Cut slowly and steadily:Rushing leads to mistakes that are hard to fix.
- Keep fabric layers even:If cutting multiple layers, ensure they are aligned perfectly.
Try cutting just outside the marked line if you want to be extra safe; you can always trim later. How much do you think careful cutting affects the final look of your toy dog?

Credit: www.youtube.com
Sewing The Pieces
Sewing the pieces of your toy dog brings your creation to life. This step is where all your cut fabric parts come together, forming the shape and character of the toy. Paying attention to how you sew each piece affects both the durability and appearance of your final product.
Basic Stitch Techniques
Understanding a few basic stitches can make your sewing easier and your toy stronger. The running stitchis simple and fast, great for temporary holds or less-stressed seams. For a firmer hold, the backstitchprovides extra strength by overlapping stitches.
The whipstitchis perfect for closing up seams after stuffing your toy dog. It neatly hides the stitches, giving your toy a clean finish. Have you ever tried a stitch that made your sewing look messy? Practicing these stitches on scrap fabric helps you avoid that.
Hand Sewing Vs. Machine Sewing
Choosing between hand sewing and machine sewing depends on your project size and personal comfort. Hand sewing gives you more control over small, detailed parts like ears or paws. It’s also quieter and requires minimal equipment.
Machine sewing speeds up the process and creates uniform stitches, ideal for larger sections like the body or legs. However, some curves and tight spots might be tricky to handle with a machine. Have you noticed how some seams look better when sewn by hand? Sometimes combining both methods works best.
Stuffing Your Toy
Stuffing your toy dog is a crucial step that shapes its final look and feel. The right stuffing makes your toy cuddly and holds its shape well. Too little stuffing leaves it floppy, while too much can strain the seams.
Even Filling Tips
Start by adding small amounts of stuffing at a time. Use your fingers to push the filling into all corners and narrow parts, like the legs and ears.
Rotate the toy as you stuff to check for soft spots or uneven areas. Press gently but firmly to spread the stuffing evenly inside.
Try to keep the density consistent throughout the toy; this helps your dog look balanced and natural. Have you noticed how uneven stuffing can make a toy look lopsided or misshapen?
Avoiding Lumps
Lumps can ruin the smooth look of your toy dog and make it uncomfortable to hold. Break up the stuffing material with your hands before adding it to the toy to avoid big clumps.
If you feel lumps forming, use a chopstick or pencil to gently separate and redistribute the stuffing inside. This little trick makes a big difference.
Remember, fluffing the stuffing regularly during the process keeps it light and soft. What’s your favorite tool to smooth out lumps in your crafting projects?
Adding Details
Adding details brings your toy dog to life. Small touches create a unique and charming look. Focus on simple features that make a big difference. Choose the right eyes, nose, and decorations. These parts give personality and style to your toy dog.
Eyes And Nose Options
Choose eyes that fit your toy dog’s size and style. Safety eyes are popular for a realistic look. Buttons or beads work well for a cute, handmade feel. Embroidered eyes suit soft, cuddly toys and avoid choking risks.
The nose can be made from small buttons, beads, or felt pieces. Embroidering the nose adds softness and safety for kids. Use black or brown colors for a natural look. Make sure the nose size matches the face.
Decorative Features
Decorations add charm and character. Small bows, collars, or scarves are easy to make. Use ribbons, fabric scraps, or yarn for these details. Add tiny patches or spots with fabric paint or felt pieces.
- Sew tiny ears with different fabric textures.
- Attach a small tail made from yarn or cloth.
- Use embroidery to create fur patterns or whiskers.
Keep decorations simple but thoughtful. They enhance the toy dog without making it heavy or hard to clean.
Final Touches
Final touches give your toy dog a polished, lifelike look. These steps protect your work and make it last longer. They also enhance the toy’s overall charm and appeal.
Sealing And Finishing
Apply a clear sealant to protect your toy dog from dirt and moisture. Use a brush or spray for even coverage. Choose a matte or glossy finish depending on the toy’s style. Let the sealant dry completely before handling the toy. This step strengthens the material and keeps colors vibrant.
Grooming Your Toy Dog
Brush the fur gently to remove loose fibers and shape the coat. Use a soft brush for a smooth, neat look. Trim any uneven edges carefully with small scissors. Add small details like eyes and nose for realism. These details bring your toy dog to life and make it special.
Credit: sewcutepatterns.com
Care Tips
Taking good care of your toy dog ensures it stays looking great and lasts a long time. Proper care keeps the materials intact and prevents damage that could ruin your creation. Let’s look at some practical tips to keep your toy dog clean and stored safely.
Cleaning Your Toy Dog
Cleaning your toy dog regularly is essential, especially if it’s handled often. Use a soft cloth or a gentle brush to remove dust and dirt from the surface. Avoid soaking it in water unless the materials are washable, as excess moisture can damage stuffing or fabric.
If your toy dog has fabric parts, spot-clean stains with a mild soap solution. Dab gently instead of rubbing hard to avoid fraying the fabric. Do you notice how small, careful cleaning steps extend the life of your toy dog?
Storage Suggestions
Storing your toy dog properly helps maintain its shape and prevents dust buildup. Keep it in a cool, dry place away from direct sunlight to avoid fading or material breakdown. A fabric bag or a small box with ventilation works well to protect it from dirt and pests.
Consider placing silica gel packets nearby to control moisture if you live in a humid area. Do you have a specific spot where your toys stay safe and ready for display or play? Setting up a dedicated storage area can make all the difference.

Credit: www.youtube.com
Frequently Asked Questions
How Do I Start Making A Toy Dog?
Begin by gathering materials like fabric, stuffing, and thread. Choose a simple pattern to follow. Cut out the fabric pieces and sew them together, leaving an opening for stuffing. Fill the toy with stuffing and sew the opening closed. Add details like eyes and a nose for character.
What Materials Are Needed For A Toy Dog?
You’ll need fabric, stuffing, thread, and a needle. Additional materials might include buttons or felt for eyes and nose, and embroidery floss for details. Choose materials that are safe and durable, especially if the toy is for a child.
Can Beginners Make A Toy Dog Easily?
Yes, beginners can make a toy dog with a simple pattern. Start with an easy design and basic materials. Follow step-by-step instructions carefully. Practice patience and take your time. With practice, you’ll improve your sewing skills and create a lovely toy dog.
How Long Does It Take To Make A Toy Dog?
Making a toy dog usually takes a few hours. The time depends on your sewing skill level and the complexity of the design. Simple patterns may take less time, while detailed designs could take longer. Allow yourself ample time to enjoy the creative process.
Conclusion
Making a toy dog can be fun and simple. You only need a few materials and some patience. Follow the steps carefully, and you will create a cute toy dog. Enjoy the process and be proud of your work. This project helps you learn new skills and feel creative.
Try making different styles or colors next time. Keep practicing to improve your craft. Making toys by hand brings joy and satisfaction. Start your toy dog today and have fun!

Emily Barker is the founder of ChillDogLife.com, a space dedicated to helping pup parents discover the best dog products, lifestyle tips, and cozy ideas for happier homes.
A lifelong dog lover, Emily combines her passion for pets with a knack for research to share trusted recommendations on everything from toys and furniture to health and everyday care.
Her goal is simple: to make life easier, stylish, and more joyful for dogs and the people who love them.