If you’ve ever tried to move or store your dog crate, you know it can be tricky to take apart. But don’t worry—breaking down your crate doesn’t have to be a frustrating task.
In this guide, you’ll learn simple, step-by-step instructions to safely and easily dismantle your dog crate. Whether you want to save space, clean it thoroughly, or pack it for a trip, knowing how to take apart your dog crate will save you time and effort.
Keep reading, and you’ll discover tips that make the process smooth and stress-free.

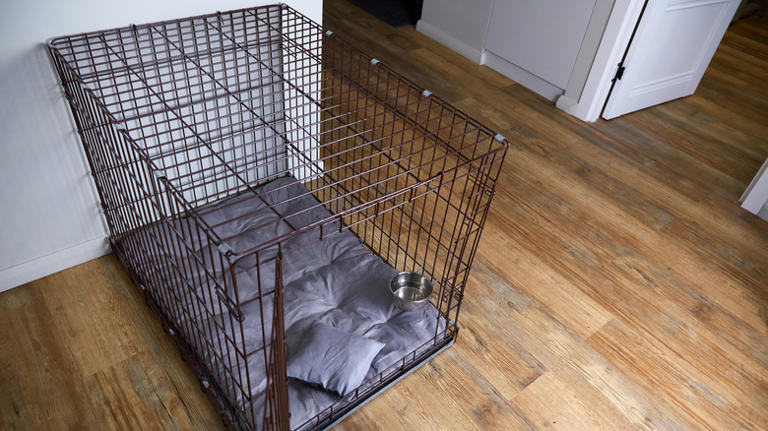
Credit: www.shopabunda.com
Tools Needed
Taking apart a dog crate is easier with the right tools. Using proper tools saves time and prevents damage. You can avoid frustration by preparing beforehand.
Gather all tools before starting. This keeps the process smooth and efficient. Some crates need specific tools based on their design. Knowing what to have ready helps you work safely.
Basic Tools
- Screwdriver (flathead and Phillips)
- Pliers
- Wrench or socket set
- Allen keys (hex keys)
Additional Helpful Tools
- Rubber mallet for gentle taps
- Utility knife to cut zip ties or tape
- Adjustable wrench for various bolt sizes
- Work gloves to protect your hands
Organizing Your Tools
Keep tools in one place during disassembly. Use a small box or tray for screws and bolts. Label parts if needed to ease reassembly. This prevents losing pieces and confusion later.

Credit: www.msn.com
Preparing The Crate
Clear the area around the crate for easy access. Gather tools like a screwdriver to loosen screws or bolts. Check for any locks or clips that need unlocking before disassembly.
Preparing to take apart a dog crate involves several crucial steps. Ensuring a smooth process starts with preparing the crate properly. This preparation guarantees safety and efficiency. Let’s dive into the necessary steps to get started.Empty The Crate
Begin by removing all items from the crate. Take out blankets, toys, and any bedding. This prevents obstacles and keeps items clean. Check for hidden objects or debris. A clear crate is easier to manage and dismantle.Clear Surrounding Area
Ensure the area around the crate is tidy. Move furniture or objects that may obstruct. Create ample space to maneuver around the crate. This reduces the risk of accidents while working. A clear space promotes an organized and stress-free process.Removing The Door
Removing the door from a dog crate can make the entire disassembly process easier and more manageable. The door is often the most movable part, and handling it separately reduces the risk of injury or damage to the crate. Knowing how to safely take it off helps you work more efficiently and keeps your dog’s crate in good shape if you plan to reuse it.
Locate The Door Hinges And Latches
Start by examining where the door connects to the crate. Most doors have hinges on one side and a latch or locking mechanism on the other.
Check if the hinges are secured with pins, screws, or clips. This will determine the tools you need and how to proceed without forcing anything.
Release The Door Latch
Unlock the door by manipulating the latch carefully. Some latches slide up or down, while others twist or flip open.
If you struggle, try gently wiggling the latch while pulling the door slightly. This often frees it without causing damage.
Remove The Door From The Hinges
Once the latch is free, focus on detaching the door from its hinges. If there are hinge pins, pull them out slowly—you might need pliers for a better grip.
When screws hold the hinges, use the correct screwdriver to avoid stripping them. Removing the door this way prevents bending or breaking the metal frame.
Handle The Door Safely After Removal
After taking off the door, set it aside on a flat surface to avoid warping or scratches. Keep all parts like pins, screws, and latches together in a small container.
This way, you won’t lose anything when you reassemble the crate later. Have you ever lost a tiny screw and wasted time hunting for it? Keeping organized saves frustration.
Credit: www.walmart.ca
Disassembling The Panels
Taking apart a dog crate can seem tricky, but focusing on the panels makes the job much simpler. Each panel usually connects with clips or hinges, so knowing how to detach them step-by-step saves time and avoids damage. Let’s break down how to carefully disassemble these parts without frustration.
Unlocking The Side Panels
Start by examining how the side panels are fixed in place. Most crates use simple latches, sliding bolts, or clips that hold the panels together. You might find it easier to press or pull these connectors gently rather than forcing them.
Some crates have metal tabs that slide into slots. Try pushing these tabs inward while pulling the panel away. If you feel resistance, double-check for hidden locks—sometimes a small lever or button releases the panel.
Have you noticed your crate’s side panels are uneven or stuck? This often means a latch is still engaged. Taking a moment to inspect each joint carefully prevents breaking any parts.
Handling The Base And Top
The base and top are usually the heaviest parts, so handle them with care. Check if they snap into place with clips or rest on metal pins. Sometimes you need to lift the top slightly before sliding it off, especially if it fits snugly.
When removing the base, look underneath for screws or bolts. Some models require a screwdriver to loosen these before lifting the base away. Keep small hardware pieces in a container to avoid losing them.
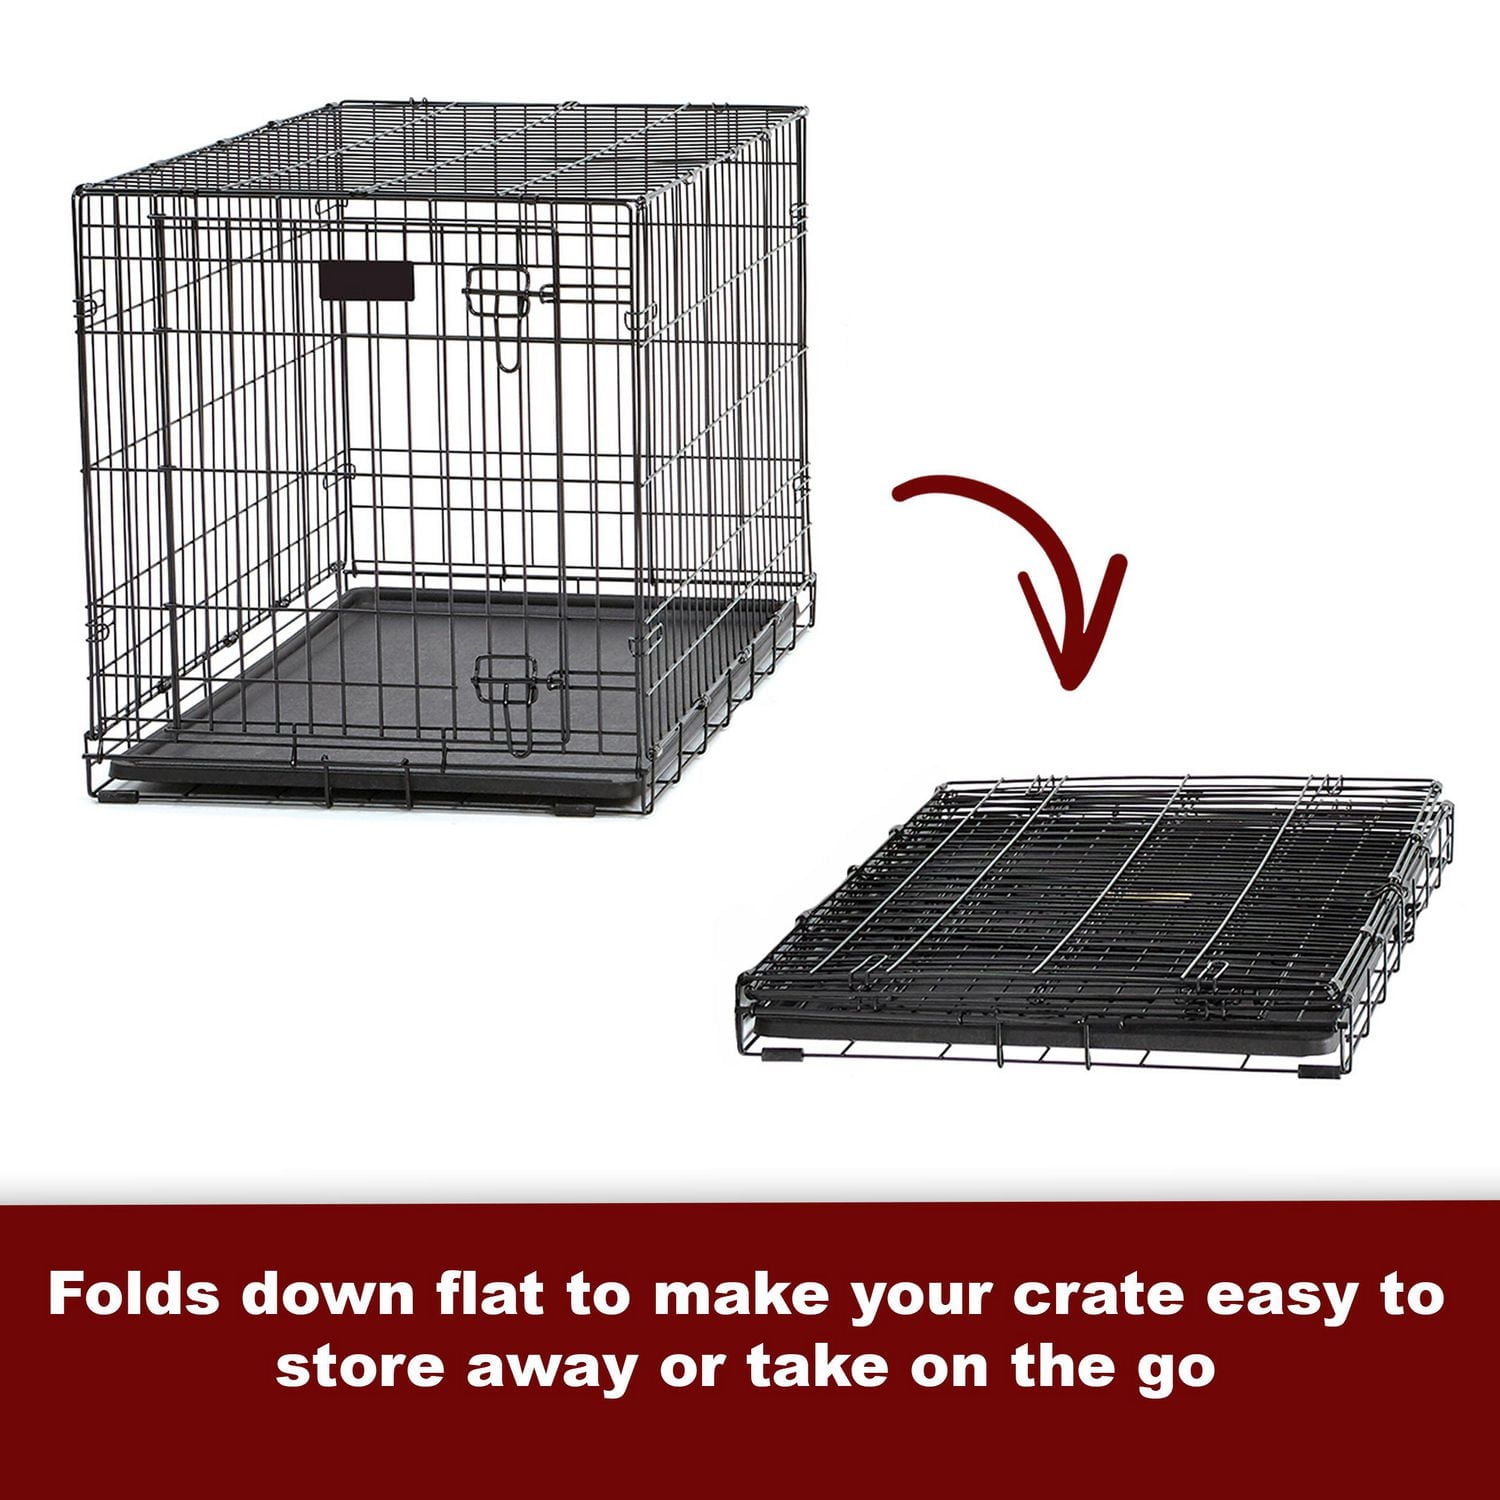
Removing the top and base separately makes the crate easier to move and store. Does your crate feel bulky? Separating these parts can change how you carry it, making your task much lighter.
Storing The Parts
Storing the parts of a dog crate properly keeps everything safe and easy to find. It prevents damage and saves space. Organize each piece carefully to avoid losing small items. Proper storage helps you set up the crate quickly next time.
Organizing Screws And Connectors
Collect all screws, bolts, and connectors in one place. Use a small container or zip-lock bag to keep them together. Label the container for easy identification later. Check that no small pieces are left behind before packing. This avoids frustration during reassembly.
Packaging Panels Safely
Wrap the crate panels in soft cloth or bubble wrap. This protects them from scratches and dents. Stack panels flat to save space and prevent warping. Store the wrapped panels in a dry, safe area. Keeping panels clean extends the crate’s life.
Tips For Quick Reassembly
Reassembling a dog crate fast saves time and effort. Organizing parts during disassembly helps during rebuild. Keep tools and hardware in one spot for easy access.
Work in a clean area with enough space. This prevents losing small pieces and keeps you focused. Follow the crate’s shape and design to fit parts back correctly.
Organize All Parts Before Starting
Sort screws, bolts, and panels in separate containers. Label each container with its part name or number. Keep small pieces in a box to avoid misplacing them.
Refer To The Assembly Instructions
Use the original manual or find a PDF online. Check the order of parts and how they fit together. Pictures help spot where each piece belongs.
Use The Right Tools
Have screwdrivers, wrenches, and pliers ready. Use tools that fit the screws and bolts well. This stops damage and makes tightening easier.
Reattach Panels In The Correct Order
Start with the base or bottom panel. Add side panels next, then the top part last. This keeps the crate stable as you build.
Check Connections For Security
Tighten all screws and bolts firmly but gently. Avoid over-tightening to prevent breaking parts. Make sure doors open and close smoothly.
Test The Crate After Assembly
Place the crate on a flat surface. Press on different sides to check stability. Make sure no parts wobble or feel loose.
Frequently Asked Questions
How Do I Safely Disassemble A Dog Crate?
Start by removing all accessories from the crate. Unlock and fold doors if possible. Unscrew or unclip panels gently. Keep small parts in a container to avoid loss. Follow the manufacturer’s instructions for best results.
What Tools Are Needed To Take Apart A Dog Crate?
Common tools include a screwdriver, pliers, and a wrench. Some crates need Allen keys or hex drivers. Check your crate’s assembly guide for specific tools. Having these ready speeds up disassembly and prevents damage.
Can I Reuse Parts After Taking Apart A Dog Crate?
Yes, most parts like panels and screws can be reused. Inspect for damage before reuse to ensure safety. Store parts carefully to avoid losing or damaging them. Reusing parts saves money and reduces waste.
How Long Does It Take To Dismantle A Dog Crate?
Disassembly usually takes 10 to 20 minutes. Time depends on crate size and your experience. Having proper tools and instructions speeds up the process. Patience ensures you don’t damage parts during dismantling.
Conclusion
Taking apart a dog crate is simple with the right steps. Start by removing all parts carefully. Keep small pieces safe to avoid loss. Use basic tools like a screwdriver if needed. Work slowly and double-check connections before pulling apart.
This helps prevent damage and keeps the crate reusable. You can store or move it easily after disassembly. Following these tips saves time and effort. Now, you can handle your dog crate with confidence. Easy, quick, and hassle-free.

Emily Barker is the founder of ChillDogLife.com, a space dedicated to helping pup parents discover the best dog products, lifestyle tips, and cozy ideas for happier homes.
A lifelong dog lover, Emily combines her passion for pets with a knack for research to share trusted recommendations on everything from toys and furniture to health and everyday care.
Her goal is simple: to make life easier, stylish, and more joyful for dogs and the people who love them.